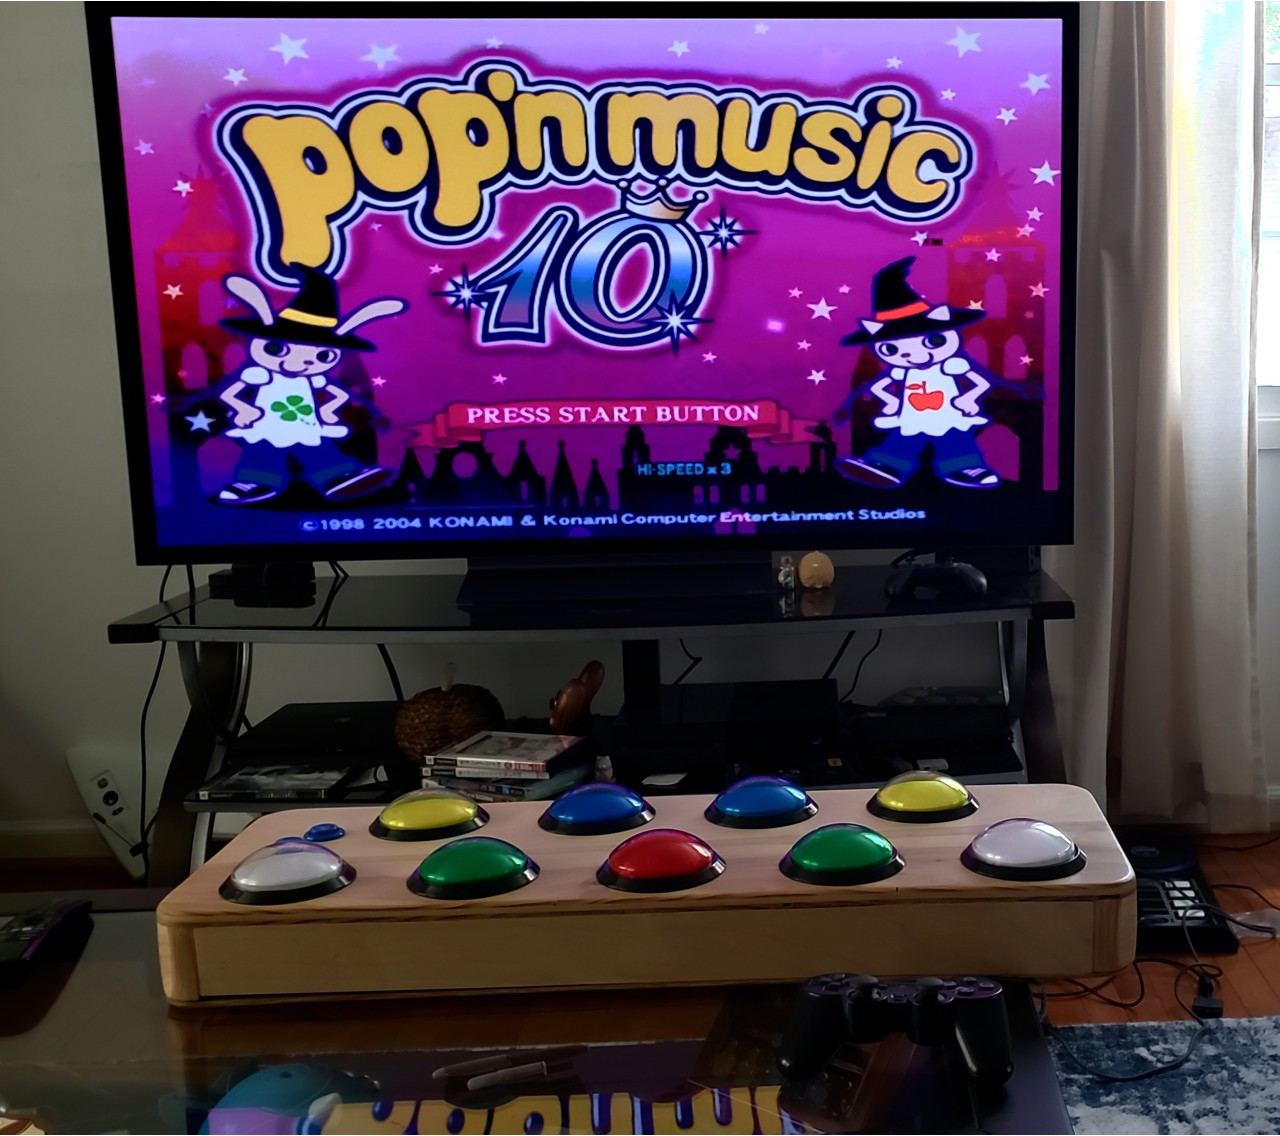
I was in Japan in January and bought a bunch of stuff from Book Off/Hard Off (which I highly recommend; Hard off is your dream place). I got a half-dozen Pop'n Music games and a Japan-region PlayStation 2. I also got an official Pop'n Music controller. It isn't very good (rubber dome switches and is much smaller than the arcade), so I decided to build my own arcade-style controller (for which there are several resources and examples; there's also official arcade size controllers and the Popoller).
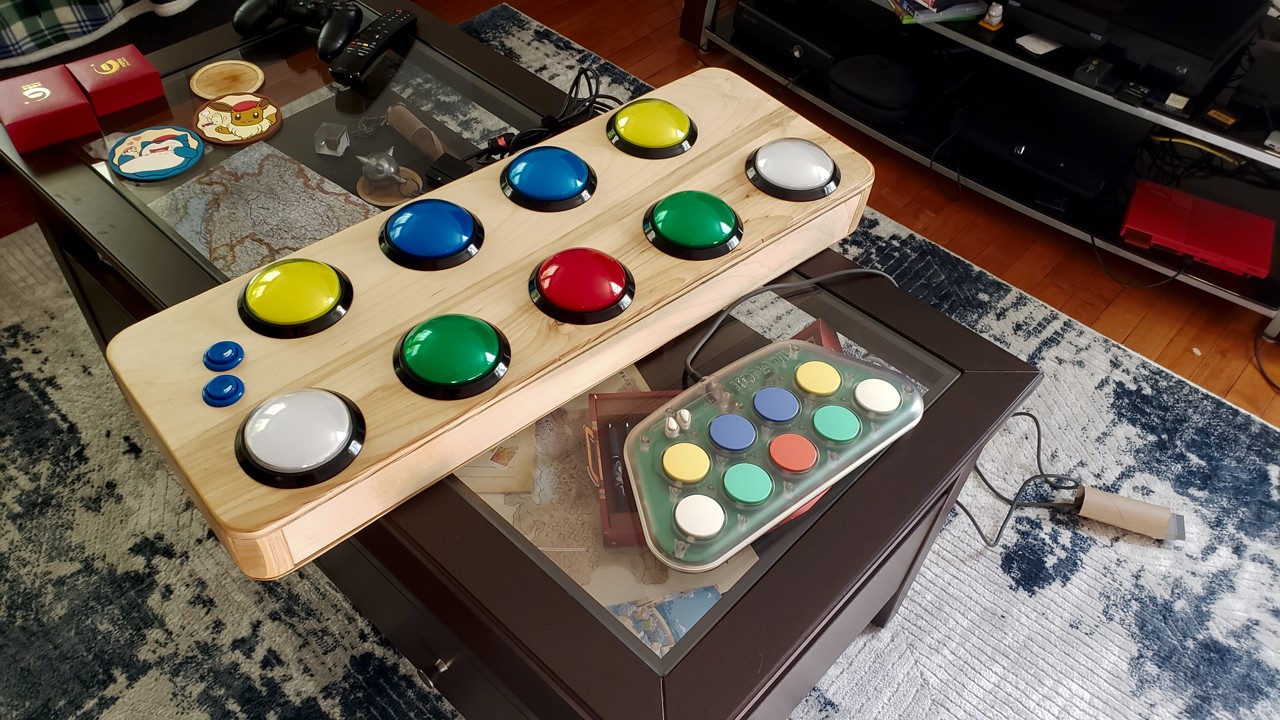
Here's the finished controller next to the small official controller:
The buttons
I saw the official 100mm buttons at an electronics store in Osaka, but they were 3900¥, which is far too expensive for me when I need nine of them.
I ended up buying the buttons from Ali Express. They are XINWANG and were about $5 each. There are many sellers for these buttons so I'm not going to link a specific one.
The important thing to know is that the springs in these Chinese buttons are extremely stiff and need to be removed. The micro-switches were also rather stiff; I measured around 130g of force. For reference, the official arcade buttons are apparently around 100g total to press.
Luckily, because the micro switch was somewhat stiff, I just removed the spring and let the micro-switch hold the weight of the button. The springs can be easily removed by pushing the button all the way down, then pinching the tabs and pulling the button out of the stem enclosure. This actually makes the buttons feel quite good, and saves money. As long as your micro-switch has enough force to return the button after pressing, you can buy whatever cheap buttons you can find and still get a good feel.
I did try winding my own spring:
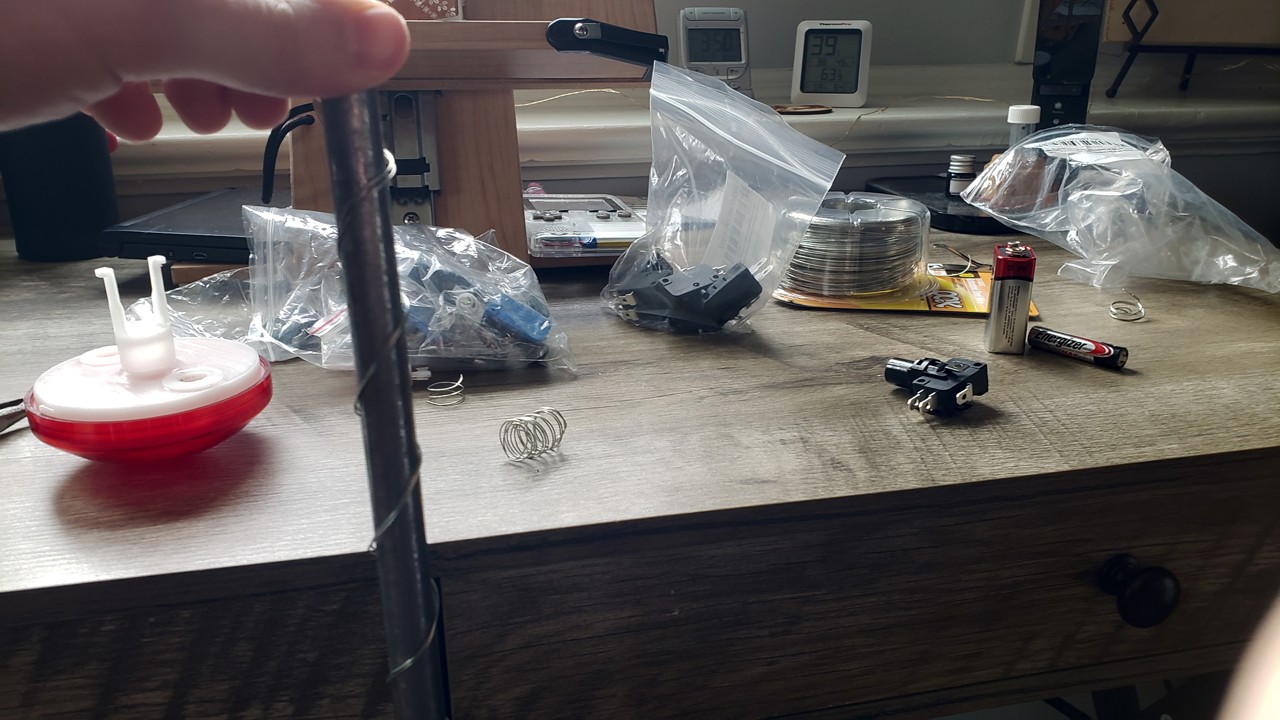
This was then paired with a feather ~30g Zippy micro-switch for a reasonably light feel. The problem with this is that the clickiness from the micro-switch is lost due to the weight of the button and spring, making the button press feel a bit mushy. I'm still happy enough with it and I think it's cool that I wound my own spring, so I left the red button with it in.
While we're on switches, I opened up a micro-switch that I thought was malfunctioning:
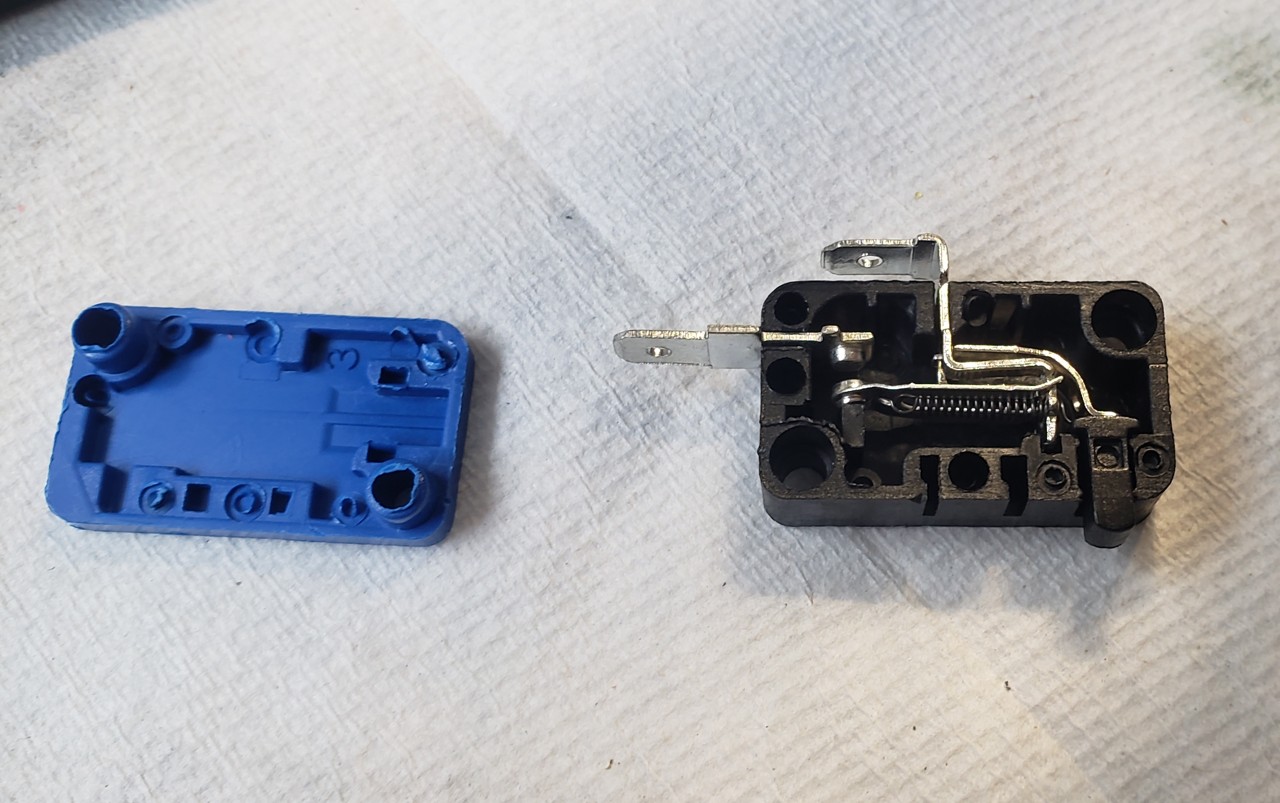
I didn't expect it to work how it does. When pressed down an arm nudges a lever which is held with spring tension. At the actuation point the lever snaps down to make contact. The spring connected to the lever performs two functions: it holds the contacts together to prevent switch bouncing, and also snaps the contacts apart when the arm is no longer pressing it. This mechanism is so simple that I suspect a contact was oxidized or something to cause the fault rather than any mechanical issue.
I ended up not implementing any switch debounce because these essentially don't bounce, and because the game samples at 60 hz, the chances of detecting a bounce within one 16ms frame are low.
It was really fun taking these cheap unusable buttons, opening them up, and tweaking things to turn them into great ones.
The enclosure
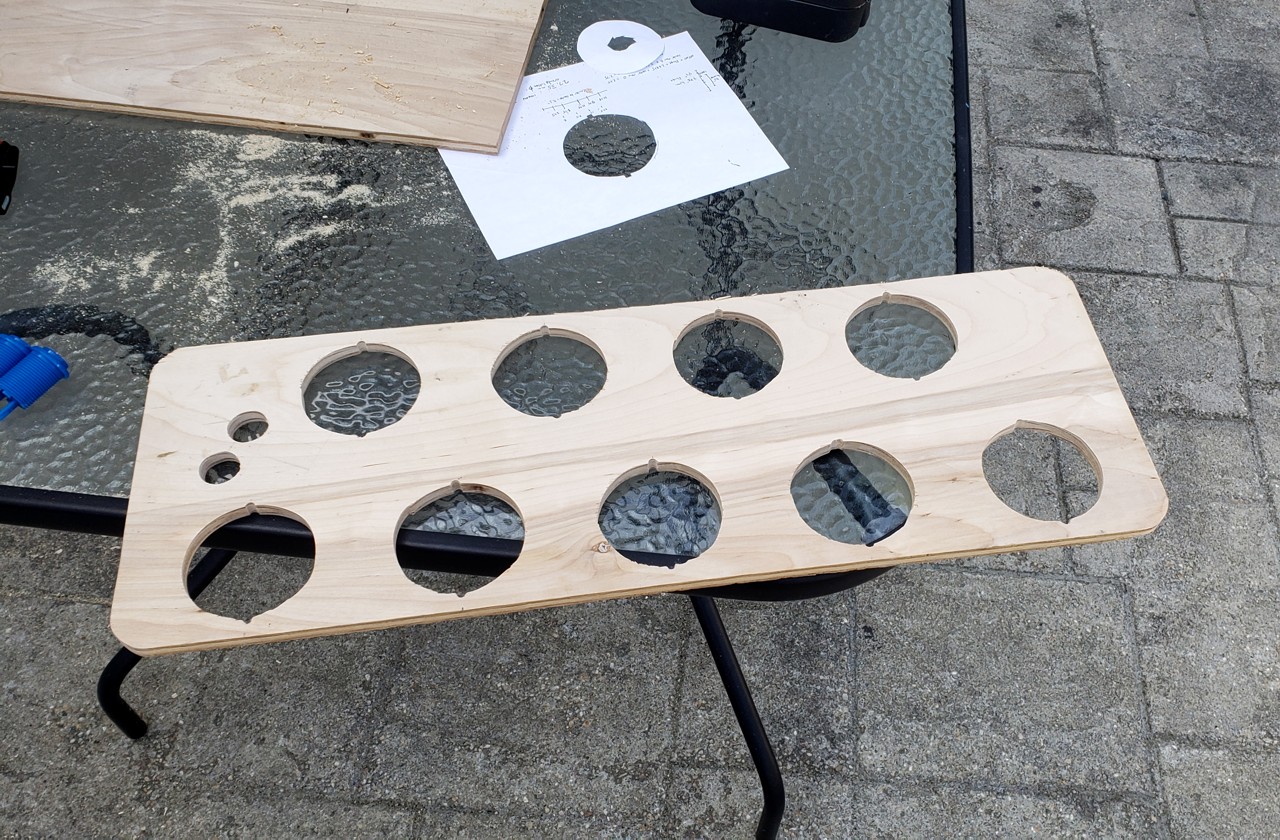
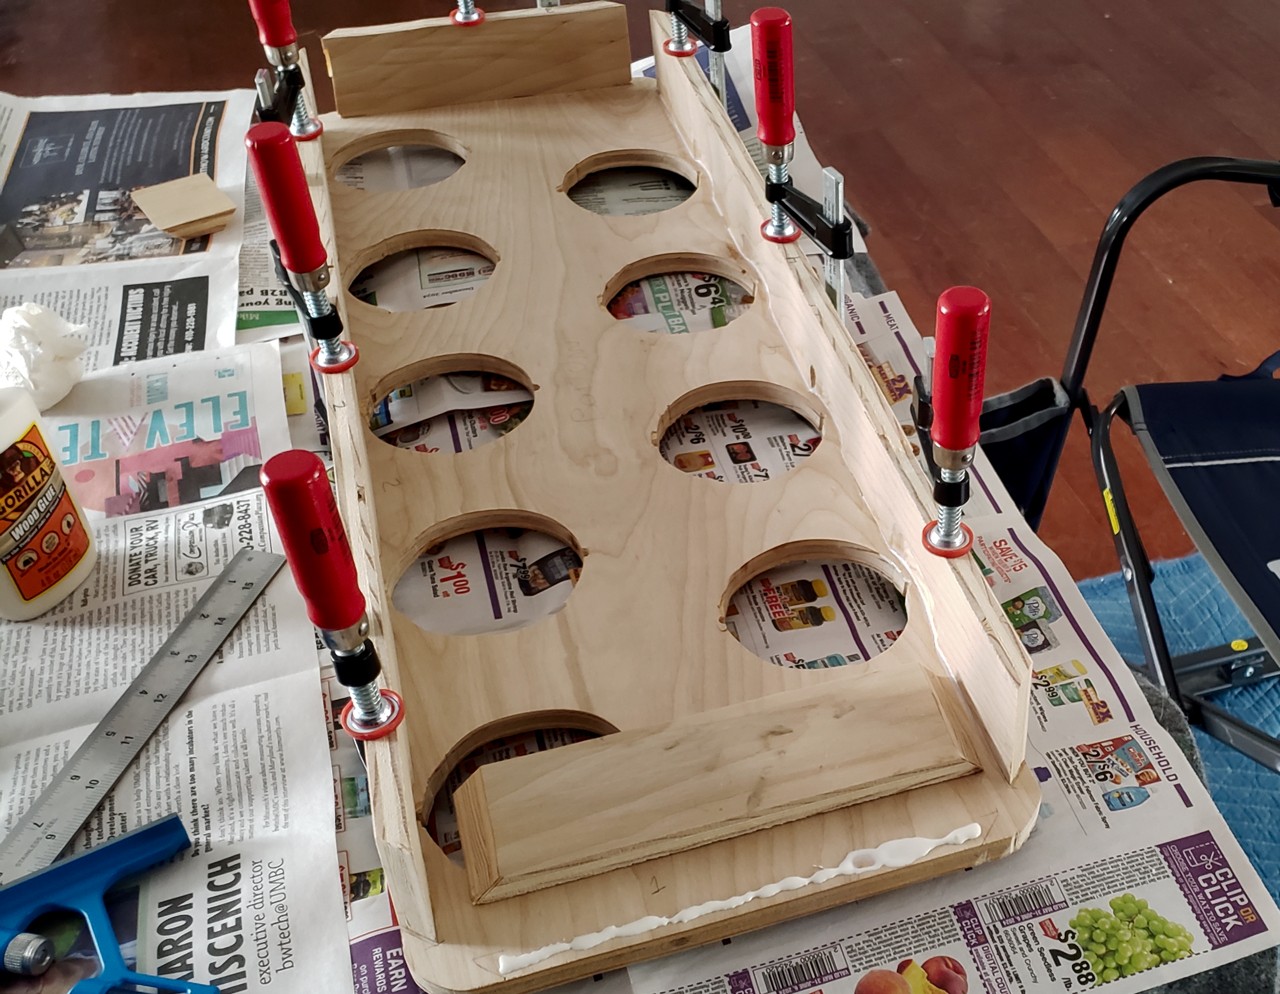
I had a sheet of birch plywood from Home Depot lying around from a previous project, so I decided to build the enclosure out of it.
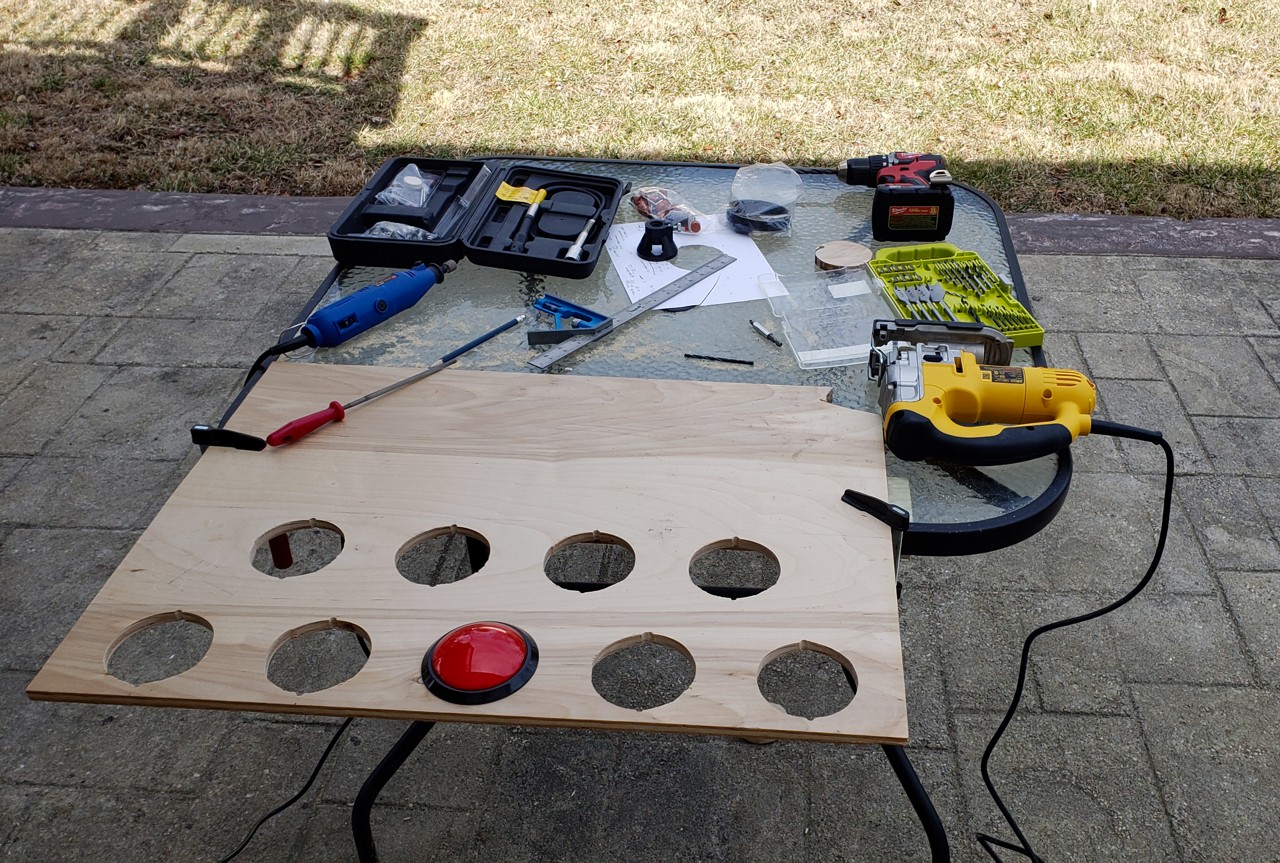
I hand-cut each button hole with my jig saw. These are a bit rough and had to be filed and sanded a bit to fit the buttons, but because they are hidden by the button flange, it doesn't really matter as long as they are snug.
This was a big day for me because the controller was officially started and my momentum was good. It's easy to buy parts but once you make the first cut you're committed to actually doing the work.
I next laid out the skirt:
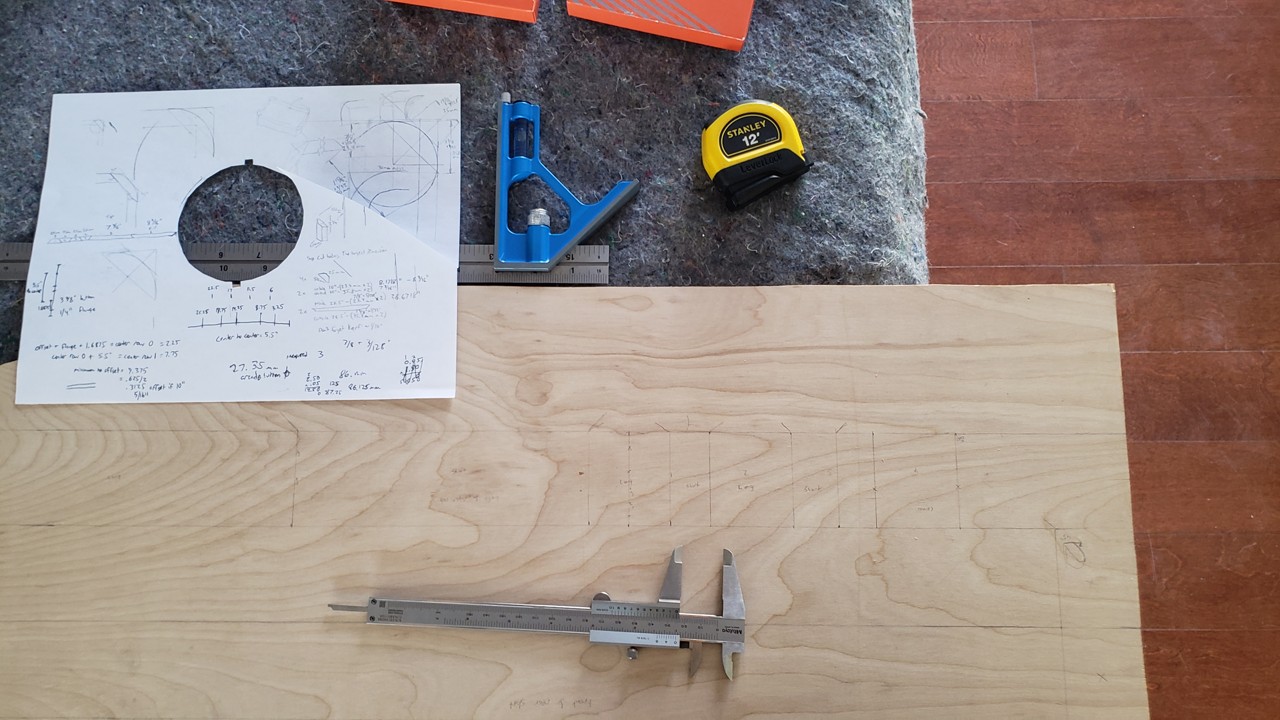
This was a case where I measured twice and cut once, but my cut was so poor with the jig saw that I wish I could've cut twice. I need to get a table saw.
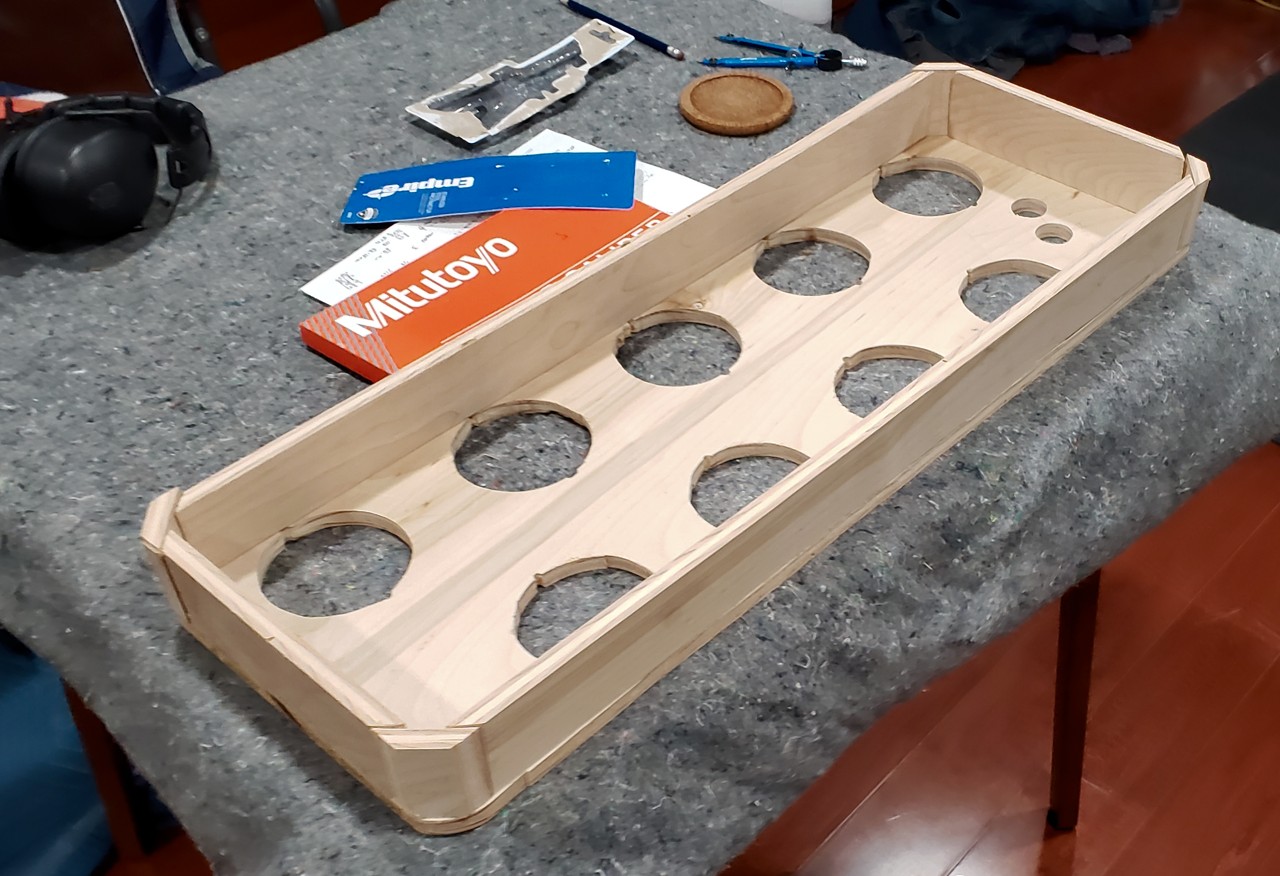
I then glued the skirt pieces to the top plate:
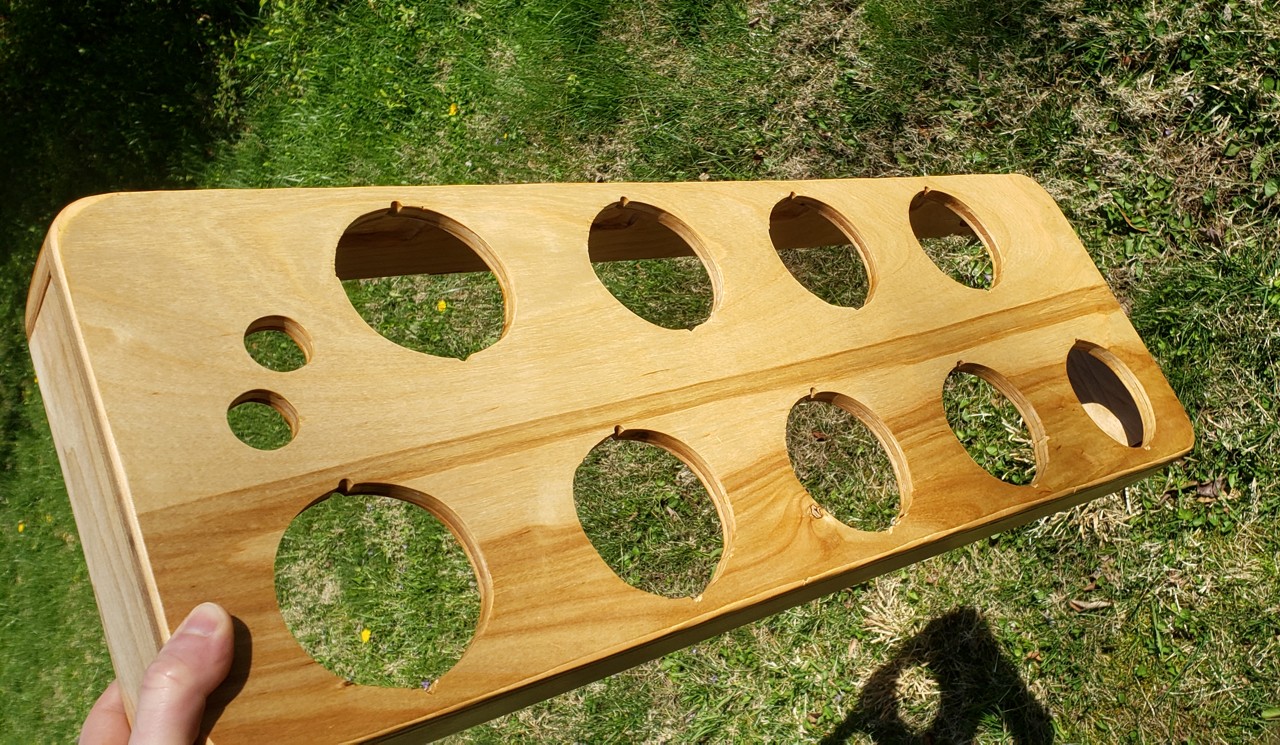
I cut 45 degree corner pieces and sized them so they'd be a bit bigger than the 2" radius corners I had already cut into the top plate. Once I sanded them down I thought the rounded corners came out pretty nice:

I ended up using a thinner birch plywood plate for the bottom of the controller. I countersunk the screws by using a wide drill bit. I'm glad I got the thinner plywood because the controller would be rather heavy otherwise. It's around 8 pounds finished. I play with it in my lap so I can comfortably sit on the couch, so I didn't want it to be too heavy.
I tried painting some wood to see how it looked doing a custom logo and button labels:

I ended up not painting it because the quality wasn't where I wanted it to be, and the wood looks really good on its own.
I sanded the enclosure while it was assembled with the back plate on so that I could round all the corners.
I applied a urethane varnish according to the can's instructions, which made the wood look great and should protect it:
Wiring
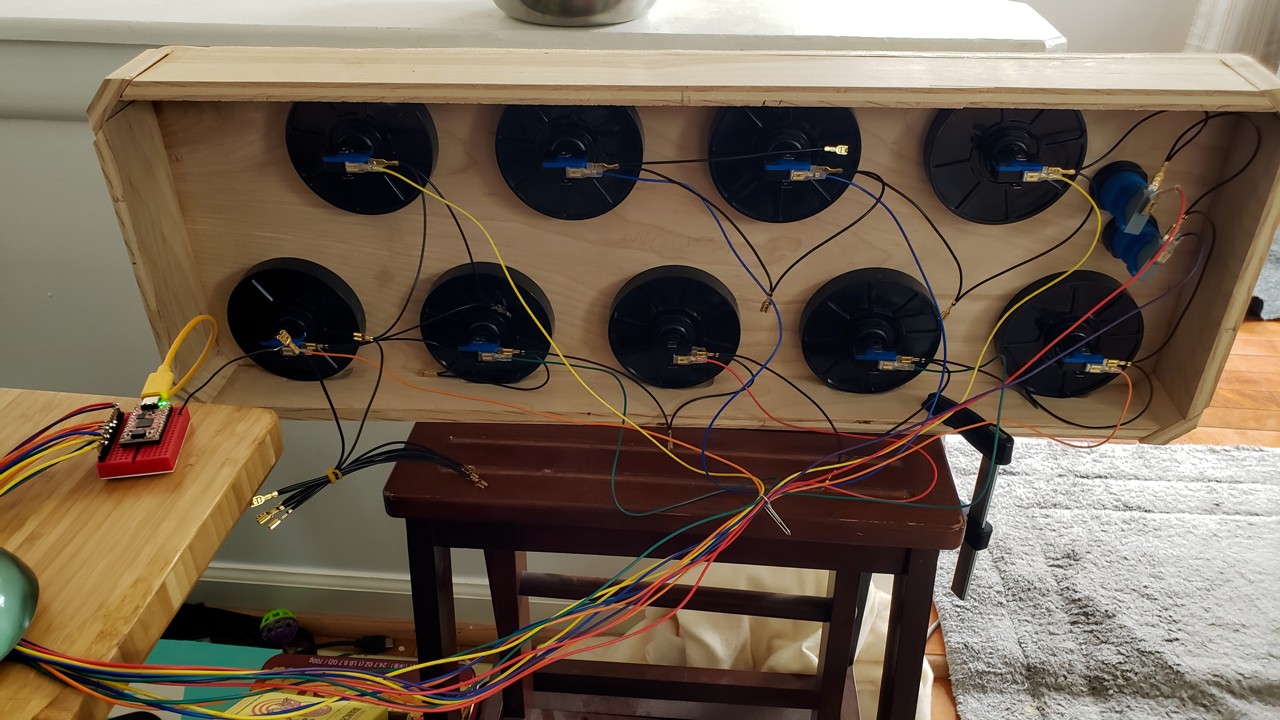
The schematic was very simple. I ended up wiring the buttons directly to the GPIO pins on the Adafruit KB2040 which I had on-hand rather than use a matrix like my Dactyl keyboard had. There are only 11 buttons, so I had plenty of pins left for the Playstation controller connector.
I was having trouble finding the right wire crimp terminals to fit the micro-switches. When I did find them they were expensive. I ended up buying a wiring kit from T-Molding.com, which was worth every penny. I wired everything up with a breadboard:
I had a PlayStation 2 Dualshock controller which has faulty graphite contacts on its flex PCB. I de-soldered the cable and used it for this controller.
After I wrote the firmware (more on that later), I soldered everything to some perfboard:
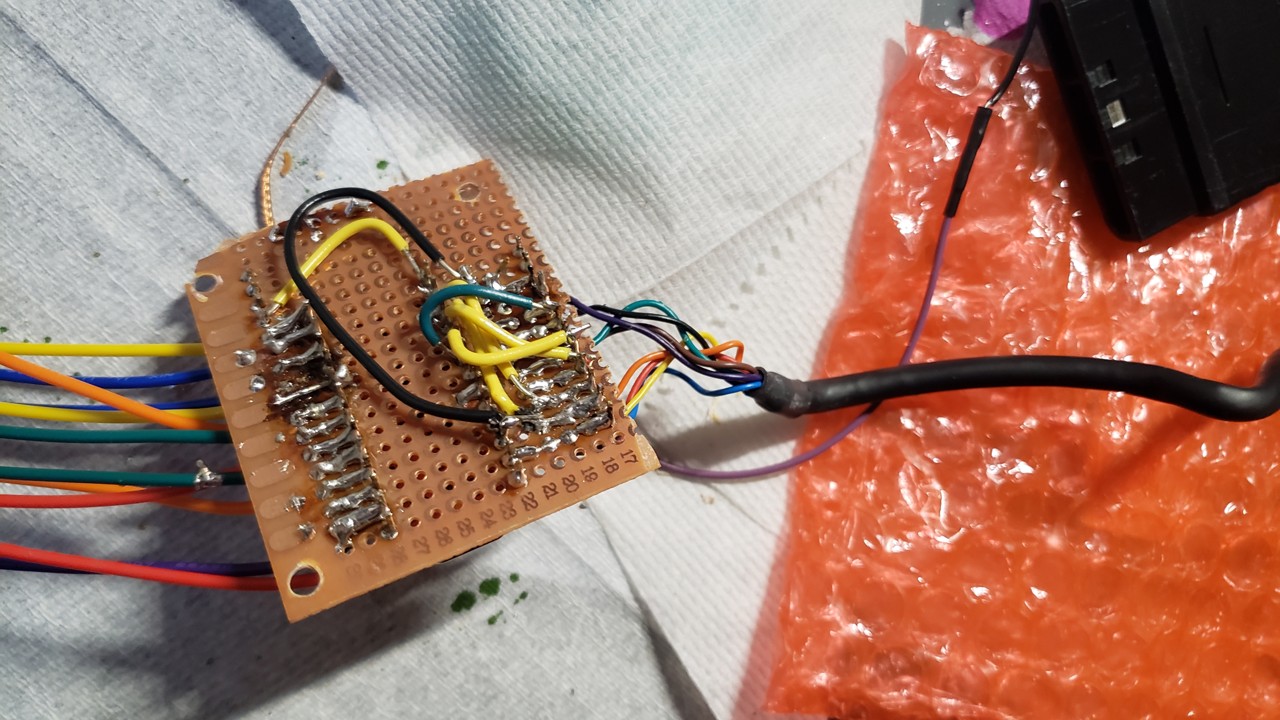
It was my first time using perfboard. It was frustrating and looks messy, but it actually 100% worked the first time, which I was very happy about.
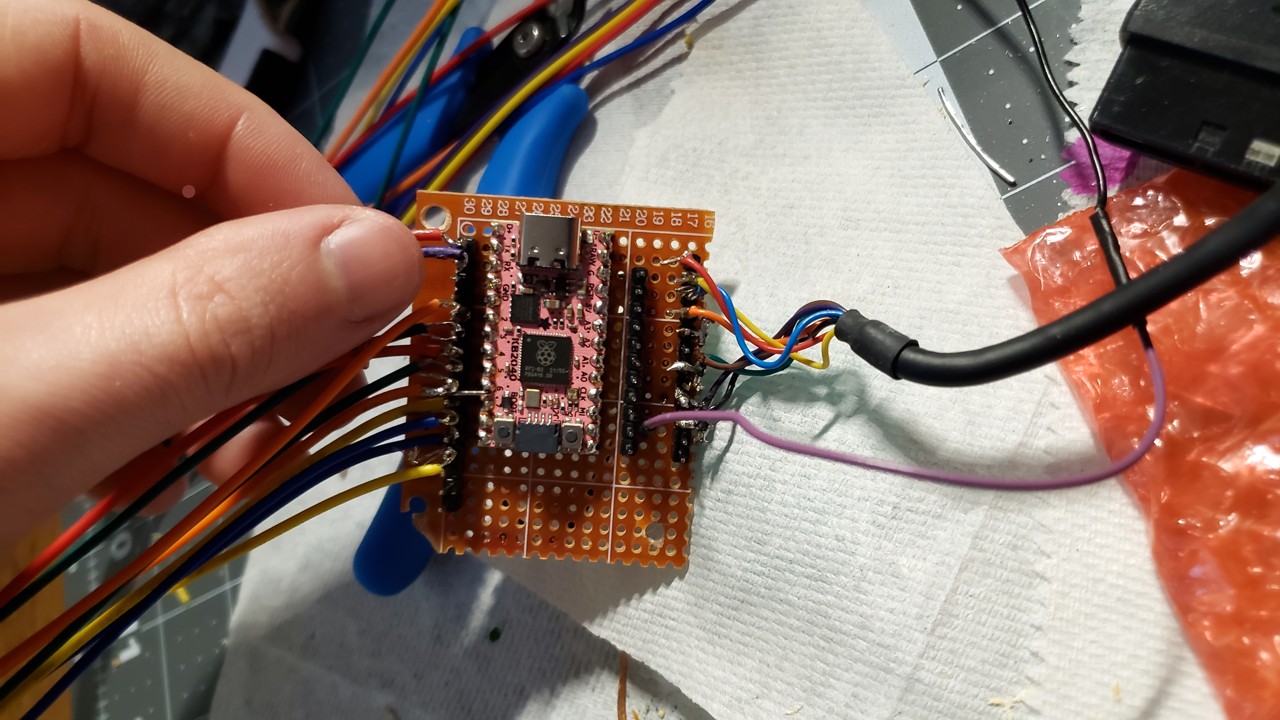
I soldered an extra header on for test points of the Playstation controller. The purple wire has a female end so that the wire harness ground loop can be attached or detached easily.
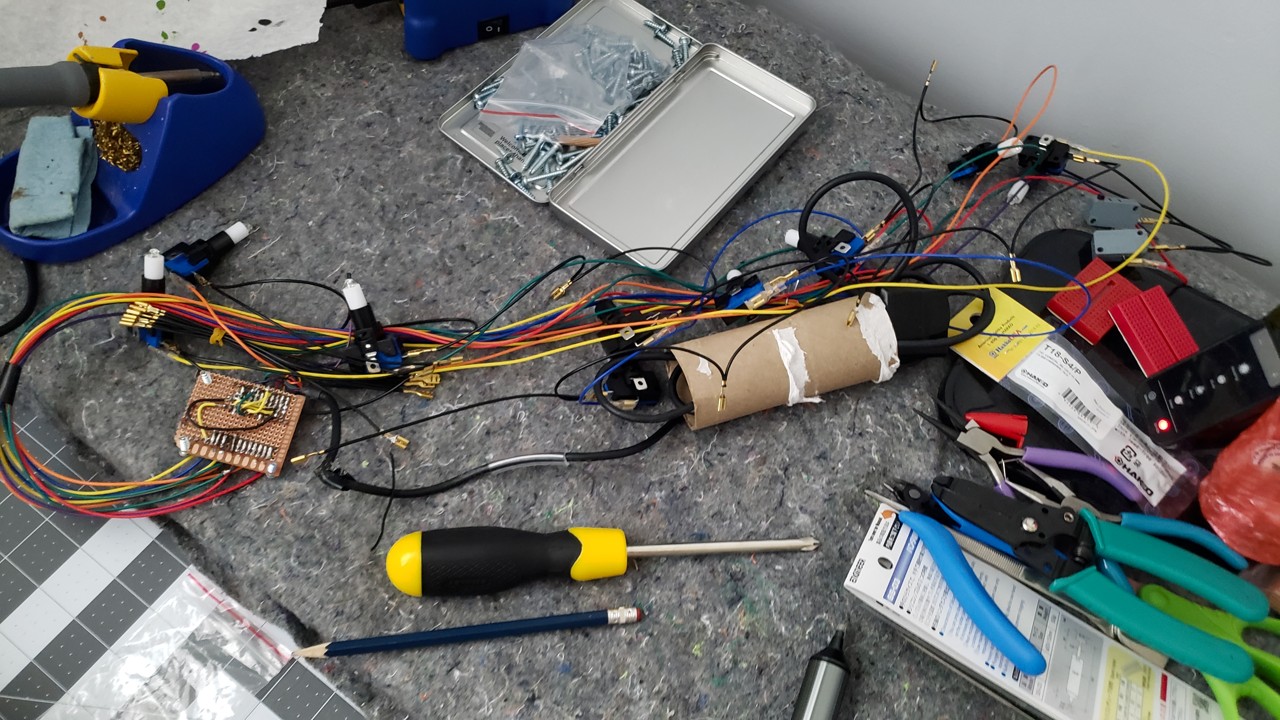
Here's the full wiring harness:
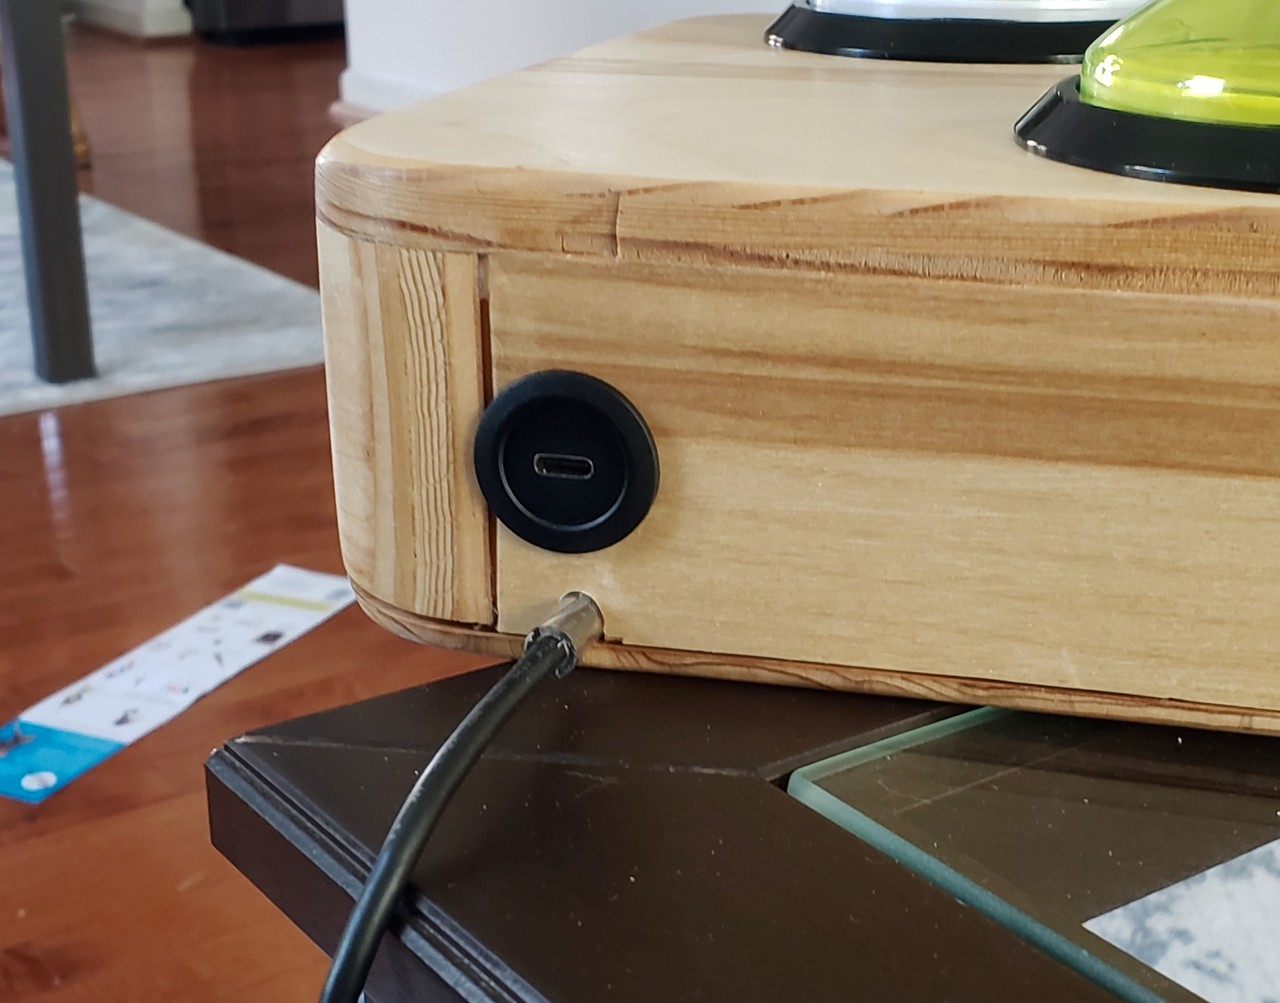
I bought a USB C Round Panel Mount Extension Cable which makes connecting via USB feel professional. I also cut a length of silicone tubing to act as a strain reliever for where the Playstation controller wire exits the enclosure.
The biggest lesson I learned from this round of soldering is that having the right connectors makes a big difference. I spent most of my soldering time trying to connect loose wires to header pins, which was quite tedious.
PlayStation programming
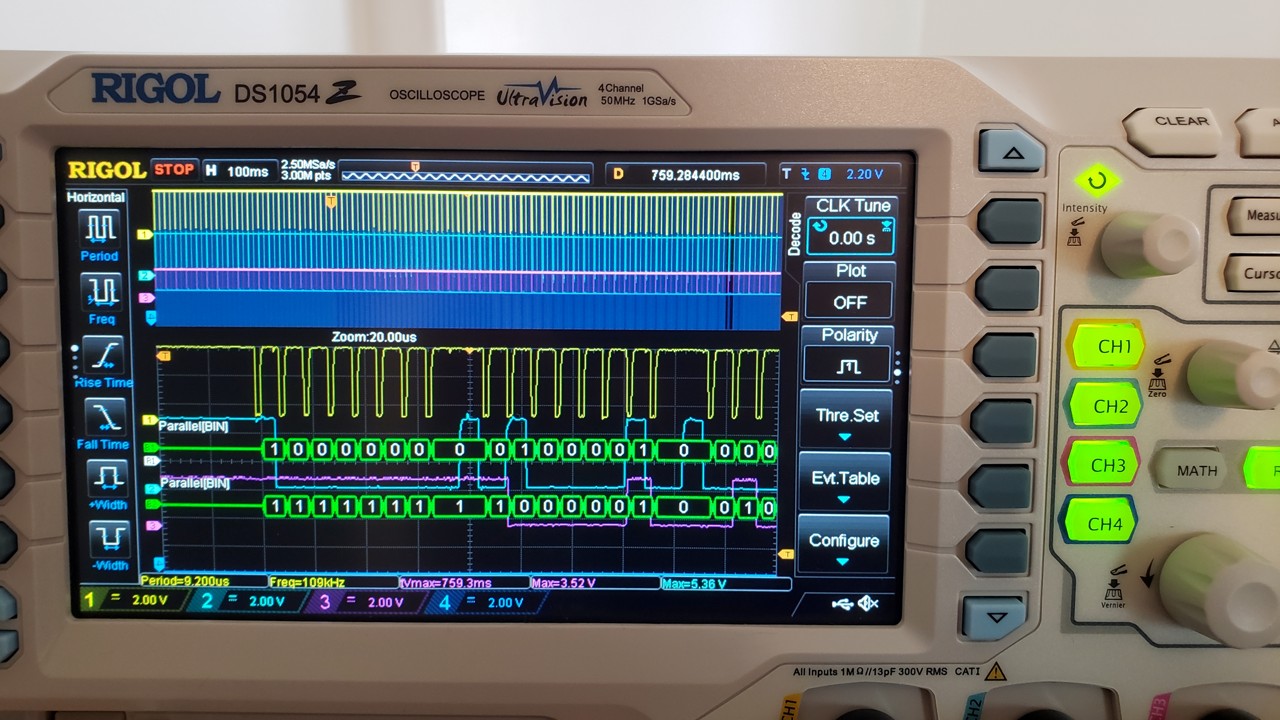
I took a trace of the original controller with my Rigol DS1054z oscilloscope:
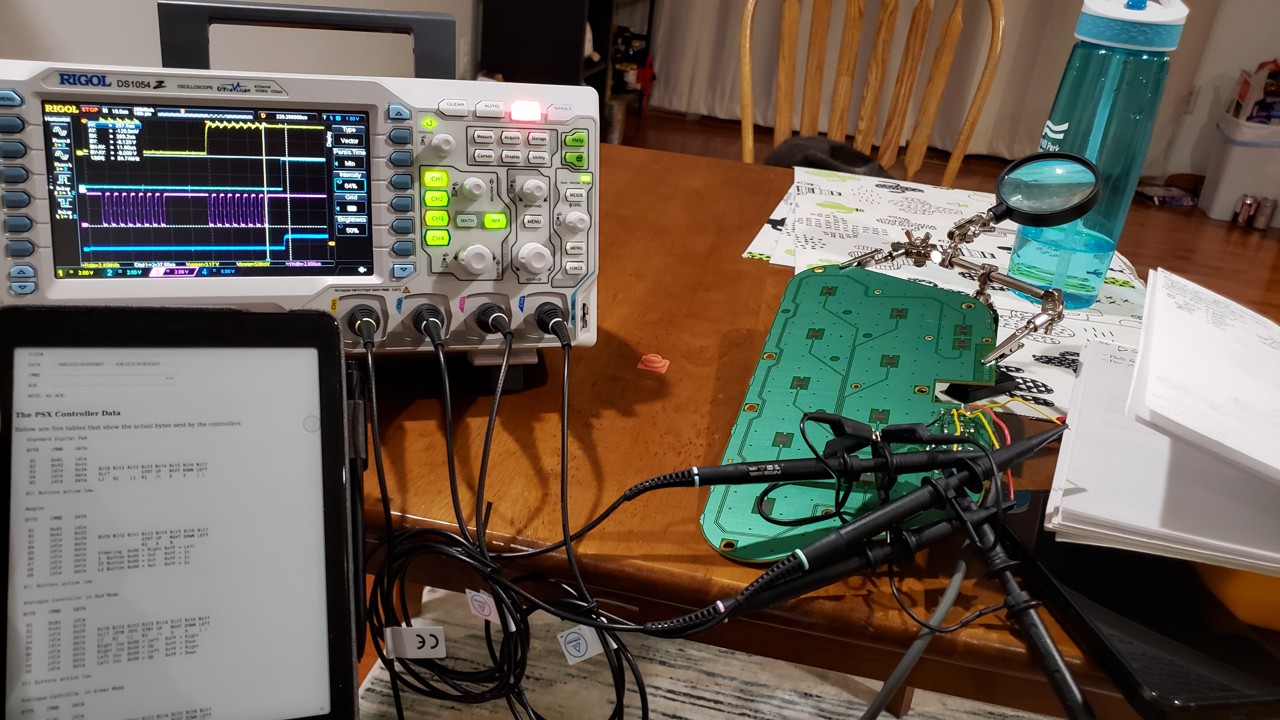
I referred to this for the protocol, but this page lists more resources.
While I was working on the Playstation controller firmware I relied heavily on my oscilloscope:

The Playstation controller protocol was different enough that none of the built-in interpreters could properly decode it. I eventually figured out I could use the Rigol's Parallel protocol decoder to get 0's and 1's rather than having to interpret the graph manually.
Rather than having the controller directly connected to a Playstation, I used a cheap Playstation-to-USB connector instead. This let me open a joystick tester to see what inputs were being received as I was iterating on the firmware. It also minimized the chance of damaging the Playstation.
I enjoyed using the RP2040's programmable I/O module (PIO) for handling most of the Playstation protocol. It took me several days until I finally got it working. The main confusion was that I needed to only ACK the 0x42 input request message, but I was ACK'ing all of them, which made the PS2 think my controller was an analog one rather than a purely digital one.
I was very happy when the Playstation controls started working:

I later discovered that the Playstation version had unacceptable latency. My wife and I chatted about it and she helped me realize that the problem was in my firmware. The RP2040 PIO has a 4-deep FIFO queue for inputs/outputs. On the keyboard mode the queue would be drained immediately (i.e. it was event-based), but with the Playstation it was sample-based, so it would always be 4 samples behind. I now flush the queue before sampling, which completely fixed the latency. It was satisfying to realize this fix just by thinking it through rather than having to do a lot of experimentation to find it.
The final firmware and schematic is available here. I detest CMake, which is what the Pico C SDK uses by default, so this time around I replaced it with the Cakelisp build system, which makes me much happier and more in control.
I thought it was cool that I was able to write the firmware to support both Playstation and USB keyboard interfaces. The latter allows me to play Pop'n Music Lively. Even though Lively has all the Pop'n songs in one place, I still wanted to support Playstation for several reasons:
- I already own many of the games
- I can play on my TV; my PC isn't connected to my TV
- Pop'n Music Lively is a live-services game; as such, it will eventually be shut down and no longer playable. My Playstation doesn't need to be online for me to play.
- Lively has a ridiculous maintenance schedule for me. I'm in Eastern Standard Time and they take the whole game down every weekday from 4 PM to 6 PM EST. This is basically gaming "prime time" in the U.S., right when I want to play to wind down from work. I don't know why they have such long daily maintenance.
In action
I was really happy with how I did on this project. It only took me a month from first cuts to finished product, which is pretty fast for me. It's very satisfying playing on a controller you built yourself. I'm excited to get back in the arcades now that I've had much more time playing on a full-sized controller.